Canopy Frame Tutorial
By Joe Huntley
Do you have any Tips or Articles? Then E-mail them to me and I will gladly add them.
Well Guys this is my first tutorial. You asked for them and I will be giving them to you. In this first tutorial we will be making fiberglass canopy frames. The included frames will be for an ME 109 which the canopy was generously donated for this effort by Pat Mc Curry of PCM Models. The second canopy will be a bubble type canopy for a Jerry Bates Tempest II I will be doing for Mike Chilson. Both of these Projects will be used on models, the 109 canopy I will be giving my buddy Todd though he doesn't deserve it. Also I am not finished with this tutorial fully as i need my parts to sit and ry for a few days but those of you close to this stage may want to get started so I posted the molding process as it will take several days for it to dry and by then I will be proceeeding with the project.
OK so I don't bore you guys to death lets get started:
One of the first things I am asked is why make a frame when it is molded into the canopy? Well the answer is simple, a lot of canopies are done so crappy you can barely make out the frame lines, others dont have them in the canopy at all and those that do the frame sticks out abd leaves an indent on the inside. Basically they look cheap and not very scale. With my method you get a 3 dimensional canopy frame and it makes your canopy look more realistic and stronger especially if you want an opening canopy.
First thing we need to do is to get our materials together for the project. (See Fig 1) First we need Plaster of Paris (for Pats 109 canopy I used 3 boxes and need abt 1/4th of another box to totally fill it), an a container to mix it in, Some Petroleum Jelly (aka Vaselene), and a way to mix it (I got me a cheap mixer at Walmart for $9.00 I keep in the shop for mixing stuff.
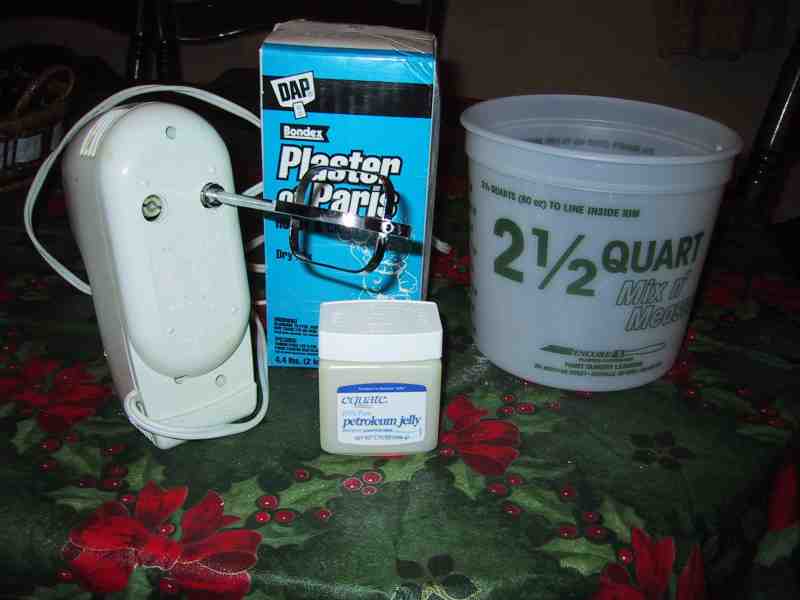
Fig 1
Fig 2 I have a gallon jug with water for my plaster. I like to add food coloring to everything so that I can see it good. After we make our mold if we were to customize it for example a friend needs a different canopy for his A-1 Skyraider he has a narrow front canopy and needs the fat version. Then we can add bondo or whatever our fav compund is and sand it in. with the colored plug we are able to better see our edges. Some of you may be saying why cant I just paint it when done. Well kiddies paint is just a thin layer the colored water gives color all the way through our mold.
Also we need a board, I like to drill a few holes in the bottom of it so that when I stick it in the plaster it will lock it in better to give us a nice stand later when we screw a base to it so we can work better.
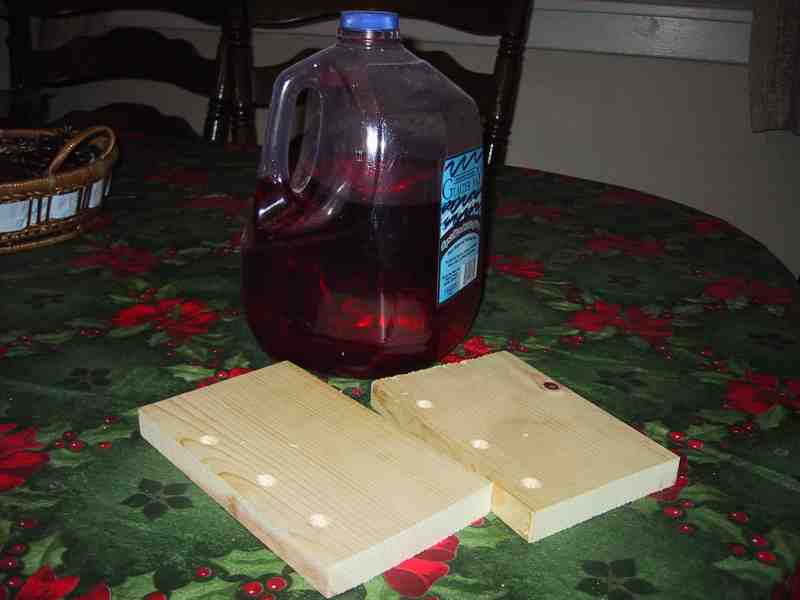
Fig 2
Here in Fig 3 we have the Tempest canopy. This is a nice canopy to work with as the plastic is nice and thick and it is a smaller sized canopy. I used 2 cartons of Plaster of Paris to fill this one.
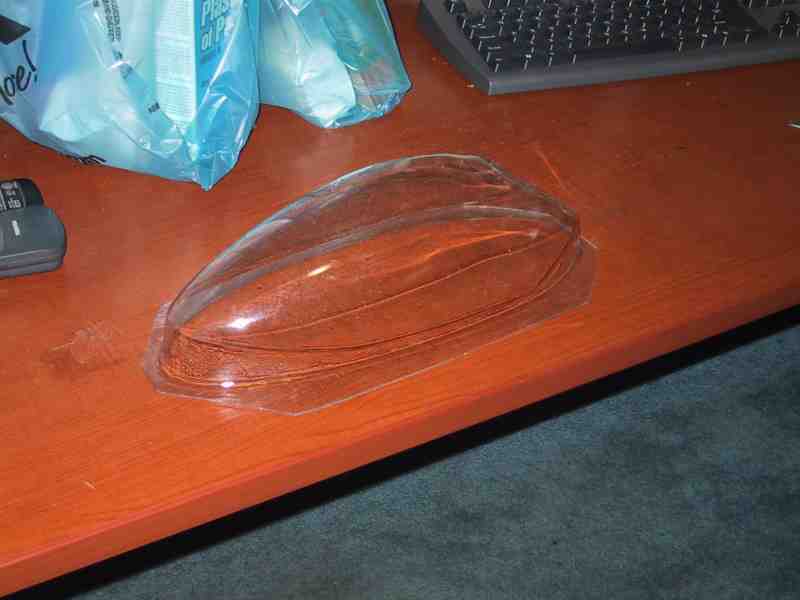
Fig 3
Because the canopy is a bubble canopy you need to support it somehow. (fig 4) I used some of my homeade sandbags (Ziplock Baggies filled with sand then duct taped closed to make sure it stays shut) One thing you need to be sure of and that is that the top is level so when you fill it it will fill totally.
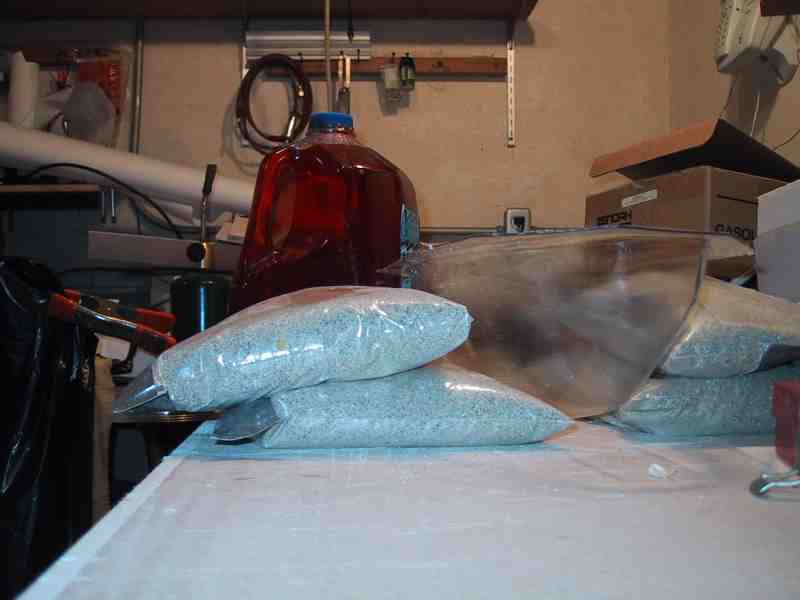
Fig 4
In Fig 5 we have the 109 canopy. Due to its size and length I like to add about 3 layers of duct tape to the side of the larger canopies to help it hold its shape better and to keep it from bowing out.
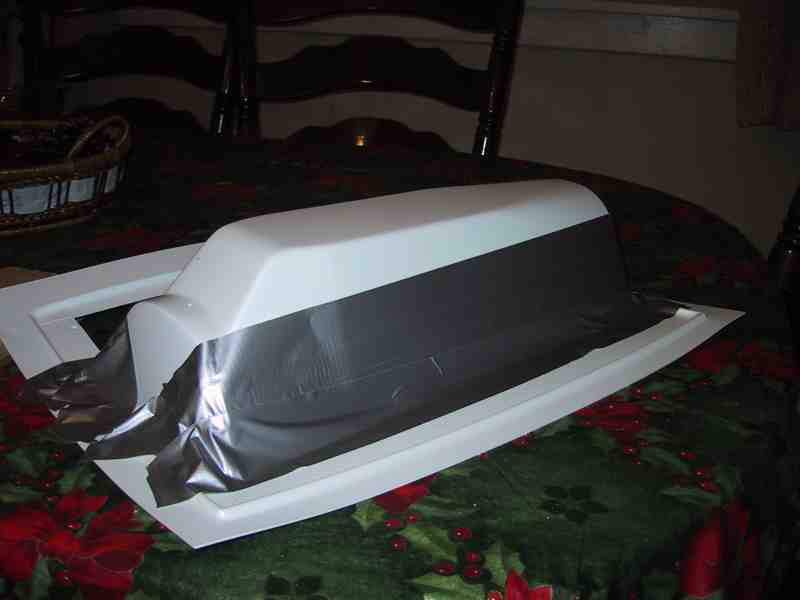
Fig 5
In Fig 6 I first put a nice coat of petroleum Jelly on the inside to act as a release agent. Be sure not to cake it on but be sure and cover the entire inside. I then mixed up some plaster nice and thin (abt the consistancy of say pancake batter) and filled the canopy. Then I stuck my board in the wet plaster. I drilled a couple holes to hold the board up though its not usually necessary. You have to work fast as the plaster starts setting up fairly quickly.
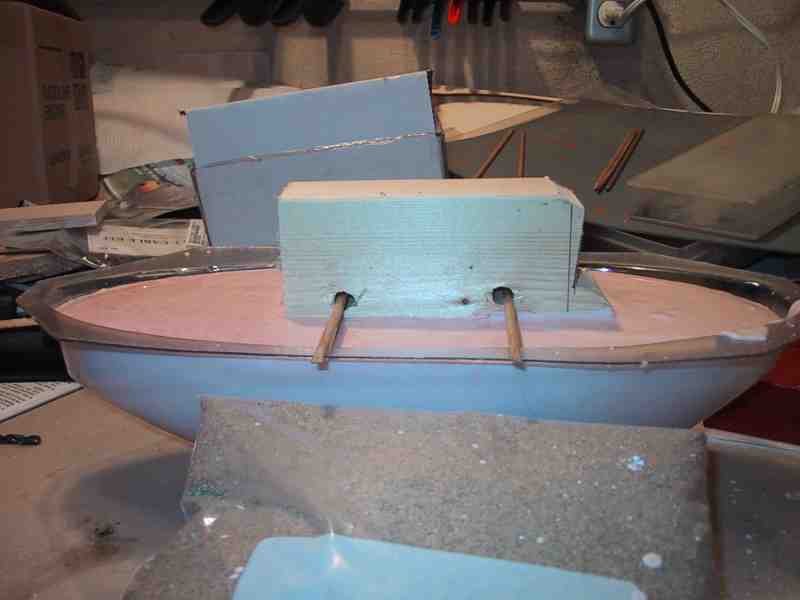
Fig 6
Here the Plaster has set and I removed my dowels (wooden cuticle sticks)
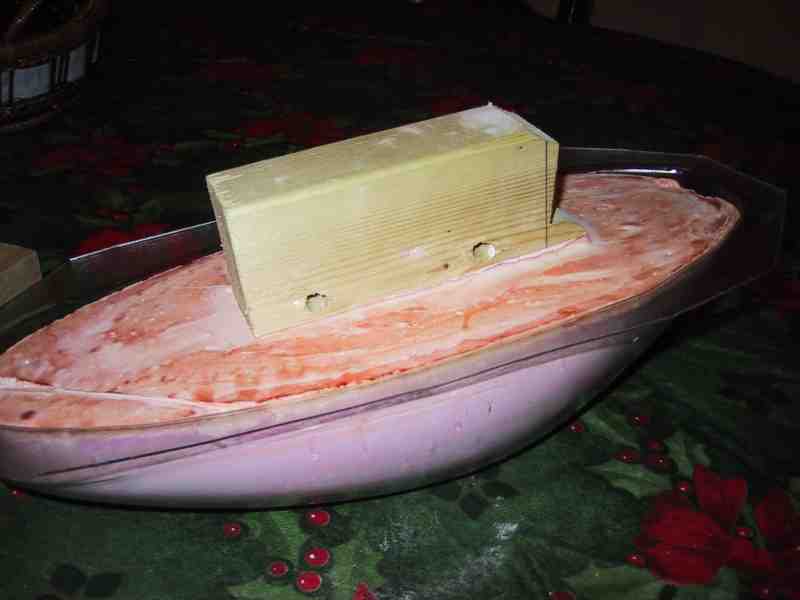
Fig 7
I repeated the process with the 109 canopy. This time I didnt use the dowels to hold the wood in place and it stood up well, also the 109 has a flat top so i didnt need to sandbag it as it stood up on its own.
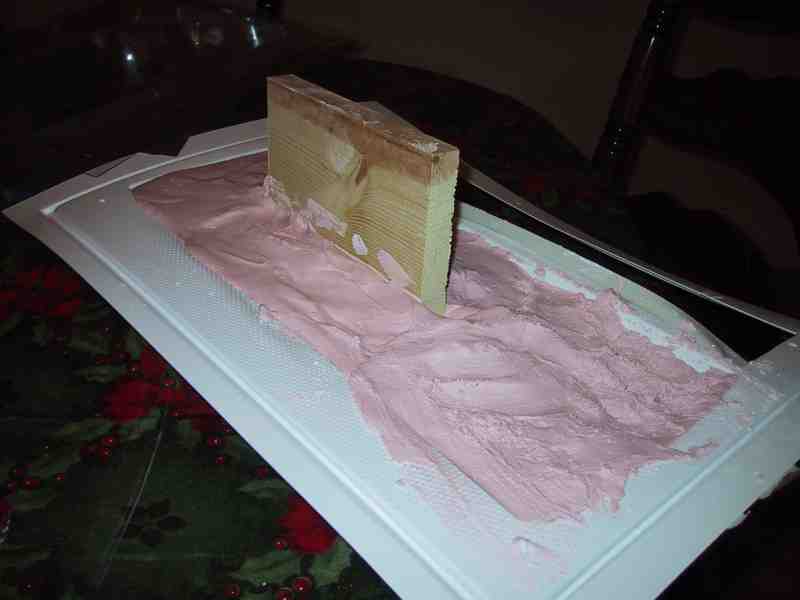
Fig 8
Here in Fig 9 the Tempest canopy has cured for abt 24 hrs and is getting ready to pull.
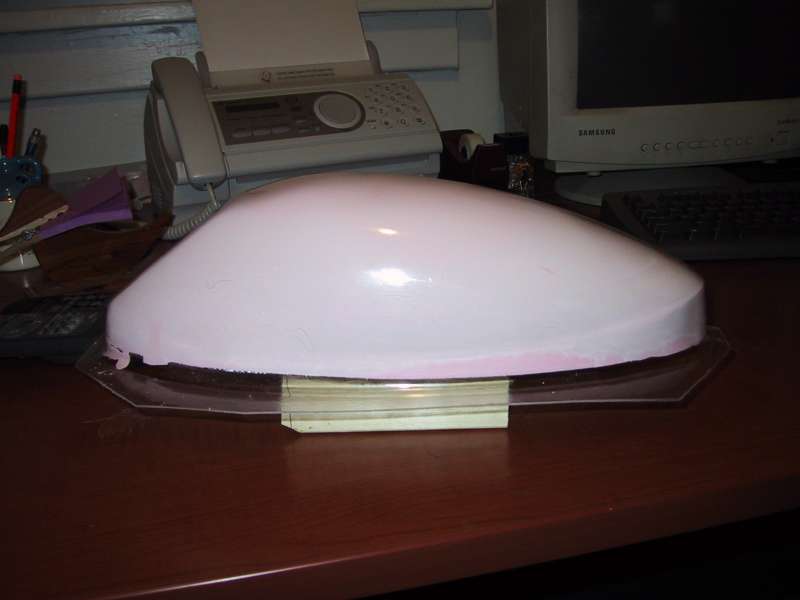
Fig 9
Here in Fig 10 I pulled the canopy plug from the plastic part.
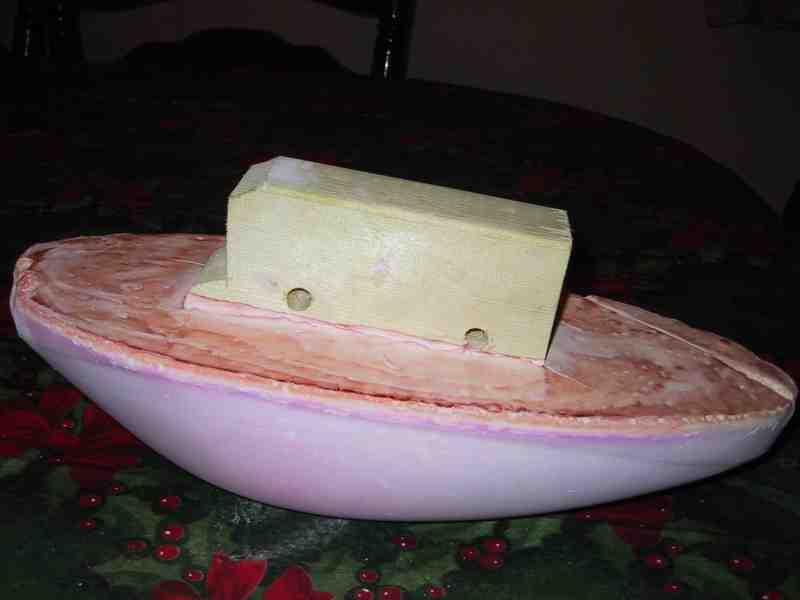
Fig 10
As you can see in Fig 11 it looks pretty darn good and is as smooth as a babys butt. I pulled it a little too early as you can see by the lower edge on the front of it but that can be filled and fixed later. The thing with plaster is it sets up fast but will take several days for the moisture to get out. I would not pull it for 48 hrs to allow it to cure better so it wont chip out easily. After you pull the part you will want to let it set for several more days to dry out. If you feel it when you first pull it it will feel moist I would wait abt 4 more days for it to dry out and then coat it with several layers of polyurethane.
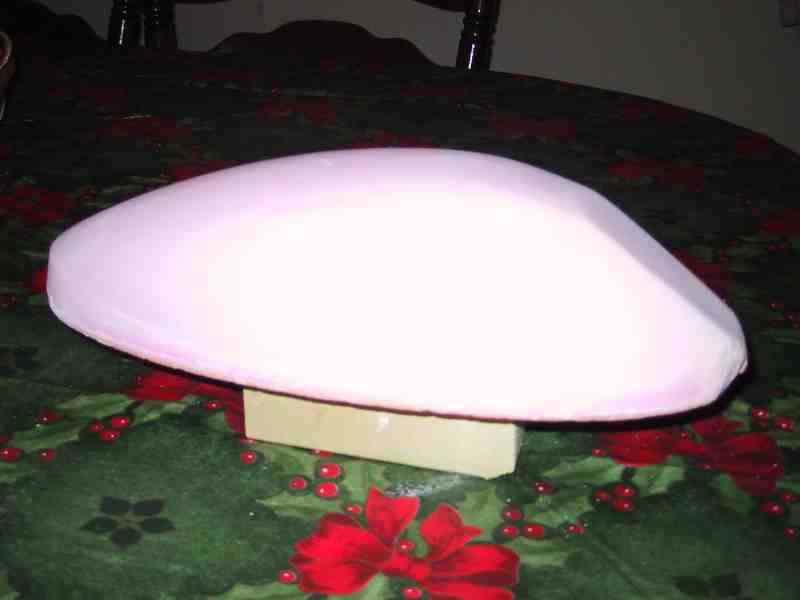
Fig 11