Rib Stitching and Tape Tutorial
I see so many different ideas for achieving simulated Stitch and Tape that all seem rather a lot of hard work that I thought I would offer the following. I did not invent it; it was published in a US model magazine about 20 years ago.
Start with searching a DIY shop for some double sided carpet tape. Not all taps are created equal. Look for the cheapest because it will be thinner. It should have waxed brown backing 'Paper'. Try a couple of different makes.
Also find some pure cotton thread, Cotton sticks better than manmade threads. It should be 'Scale' size. I.e... 1/4 or (your scale) what the full size would have used. Stitching is subtle and sometimes hardly seen under layers of dope.
While in the Cotton thread shop purchase a Rotary Knife. One quality blade should do one model.
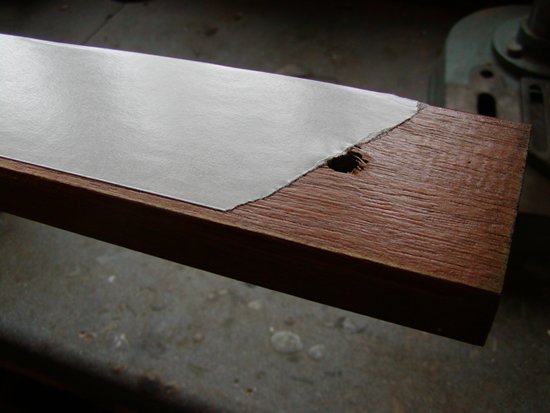
Pick up a lump of timber slightly wider than your tape, 1" thick and 36" long. It should be smooth but that's not critical, I use pine. Cut off 3 " and screw it to the back so the wood can be clamped in a vise.
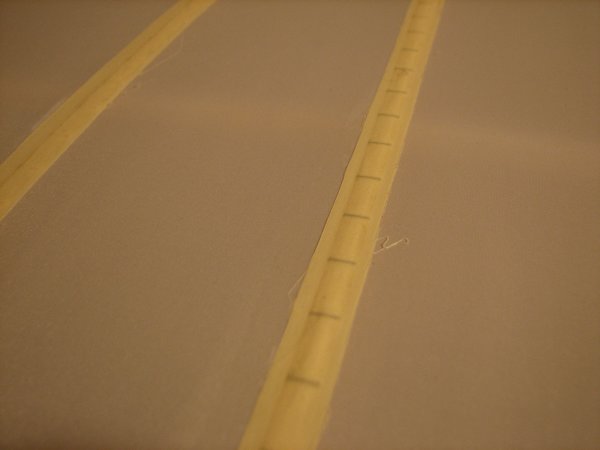
Take your tape and lay down a strip. LEAVE the backing on.
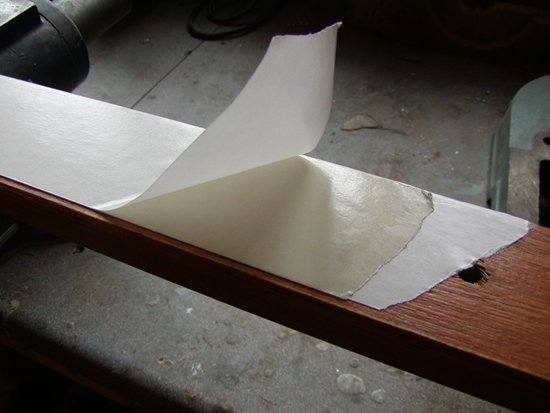
Lay down another layer. It will stick to the backing of the first layer. REMOVE the backing of the new layer.
Wind your cotton rite round the wood and tape. Underneath is not important but it is quite easy to eyeball the spacing you desire on top.
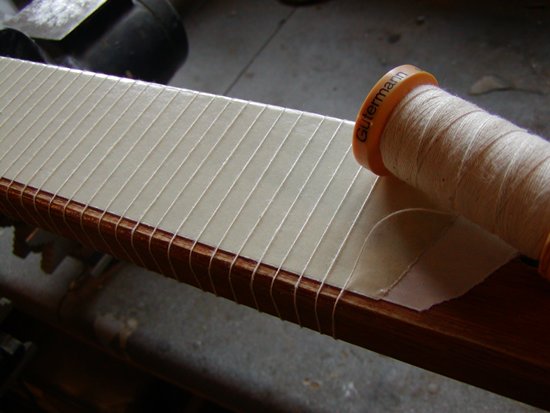
Next clamp a steel rule (you have to clamp it) along the tape and cotton. If the rule touched the sticky surface put a layer of tape with backing on the ruler.
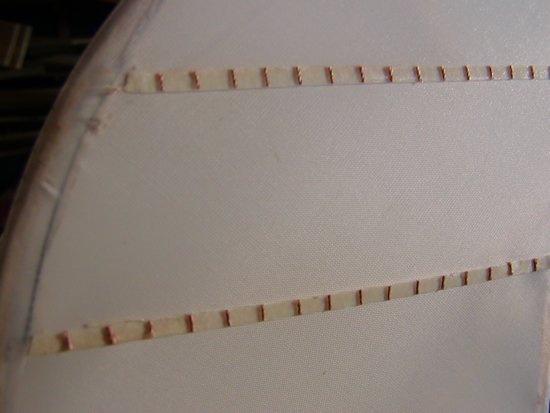
Use your rotary knife to cut strips to the desired width. This will vary but must fit your rib and cap strip if it has one. Only cut and use one strip at a time to prevent sticky unplanned events.

Apply the self adhesive strips to your model.
Job done!
But now you are going to need some Rib Tape. Tape may have a Pinked edge or before 1935 may have torn strips.
Torn may be ripped from Solartex etc. Nick the edge first, and then pull along the weave in a straight line. Iron down with a low heat.
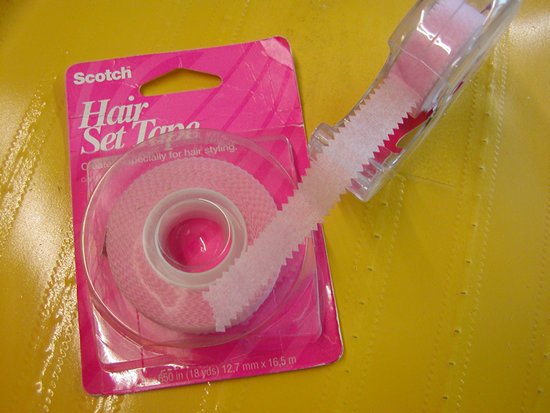
Pinked tape may be purchased from Scotch as home hairdressing tape. I find it is only available in USA.
It is rather wide so only suitable for 1/3 scale and above. This surface picture is on my Waco SHG-a.
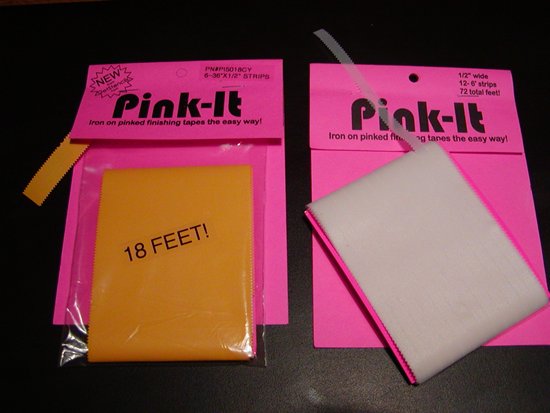
Pink-It makes a nice range. Calculate what you need then add 50%!
My favorite is Mick Reeves tape. He will cut to the scale you need and prices are reasonable.
Order some patches in various shapes while you are at it.

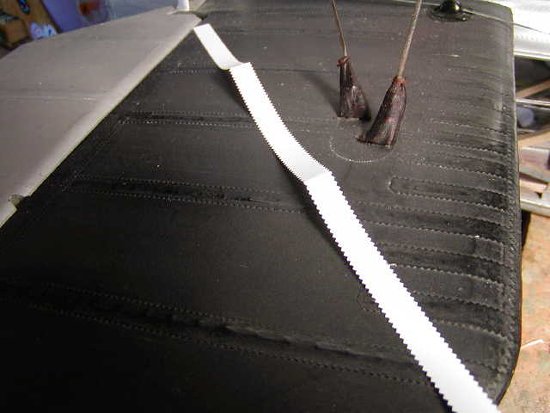
This is paper tape from Check Republic on my Swordfish tail.
Soak it in thin PVA . It's OK but not the best as the edges keep lifting.

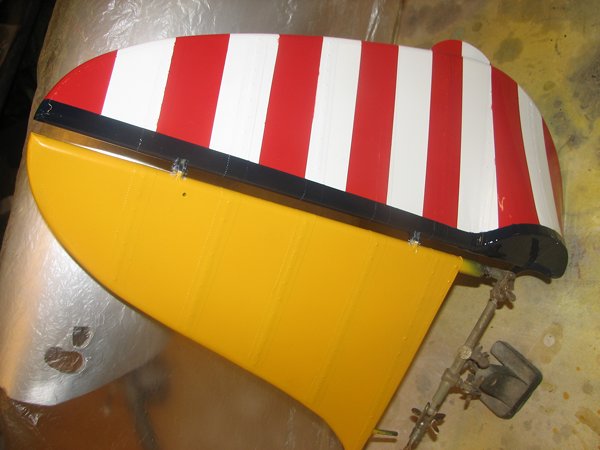
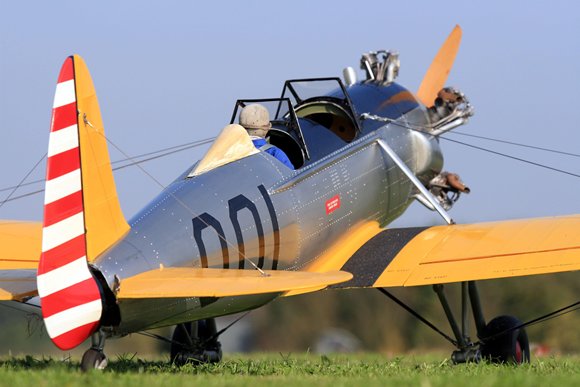
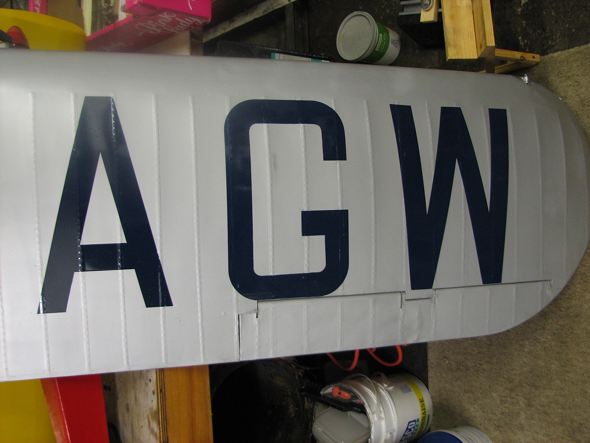
On the PT22 the effect is subtle. This modern restored subject is heavily painted.
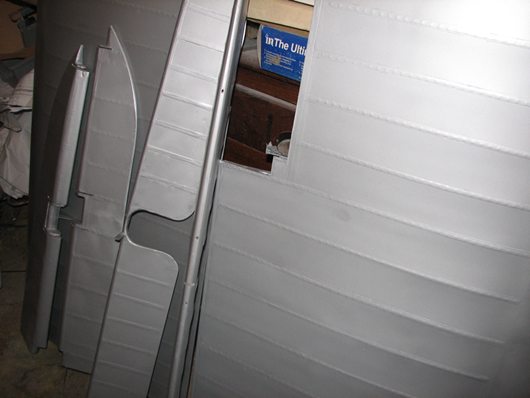
If you look closely at this surface you will see drain holes in the corner of the rib bays. They are plastic washers. I get them from Nelson. Stick on then make a hole with a hot piece of wire..It all adds interest to the surface texture.
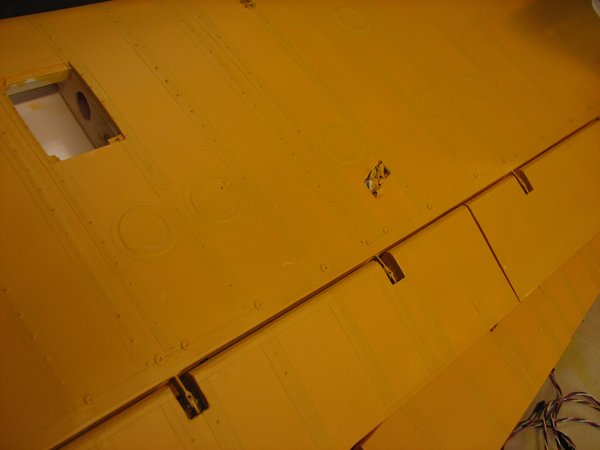
The PT22 actually does not use stitching on the wings. The covering is fixed under screwed strips. At least on the wings.
The Westland Wessex from 1929 at 1/5 scale had torn tape. A few stray threads are all the better.
Good luck in your modeling,
Richard Crapp